Making money in Voodoo Fishin'
Fish sell by the pound, bounties multiply the payout, and loot crates hand out free tackle — but the single biggest upgrade is a rod tier, not bait.
Money in Voodoo Fishin' comes from weight, not from count. The Fish Monger pays by the pound, so one fat legendary is worth more than a cooler full of commons — but in your first hours you cannot fight the fat ones, which is why early income feels brutal. The realistic plan is: sell everything you catch, avoid spending on bait until your rod can fight back, and farm the free stuff — junk, bounties and loot crates — while you wait for the rod tier that unlocks the good water.
Where the money actually comes from
| Source | How reliable | Notes |
|---|---|---|
| Selling fish by the pound | Constant | Weight decides the payout; cooler size decides how many trips you need |
| Bounty multipliers | Daily, needs checking | Each Fish Monger runs its own set of bounties; bountied fish are marked when you sell |
| Dock Quota rewards | Session only | Pays in upgrades, not cash — bigger coolers mean fewer trips per dollar earned |
| Junk sold at Rusty Remy's | Steady background income | Non-fish items have no other use except enchanting and campfire fuel |
| Unwanted tackle at the Pawn Shop | Unexpected, useful | Dealin' Delores buys rods, reels and bait for cash |
| Loot crates | Random, occasionally great | Crates hand out random tackle, which is money you don't have to spend |
One number to calibrate against: a player on starter gear reported making roughly $50 in an hour before the price update, and Lost Arcade raised payouts on some fish and adjusted every bounty price in response. Small early numbers are normal; the fix is gear, not technique.
Check the bounties before you leave the dock
Both mongers post a board of daily bounties: Caesar at the main dock, and his brother Louis out at Fort Arbre. Bounties rotate, and any fish carrying an active multiplier is flagged when you sell it — which turns "whatever bites" into a plan. Two rules of thumb from experienced crews:
- Fish the bounty that matches the water you can already reach. Chasing a bounty in deep water with a starter rod is how you lose a whole session.
- Empty the cooler at the monger whose quota reward your crew wants, not the one that happens to be nearest. The payout is the same pound for pound, but the quota reward is not.
Spend in the right order
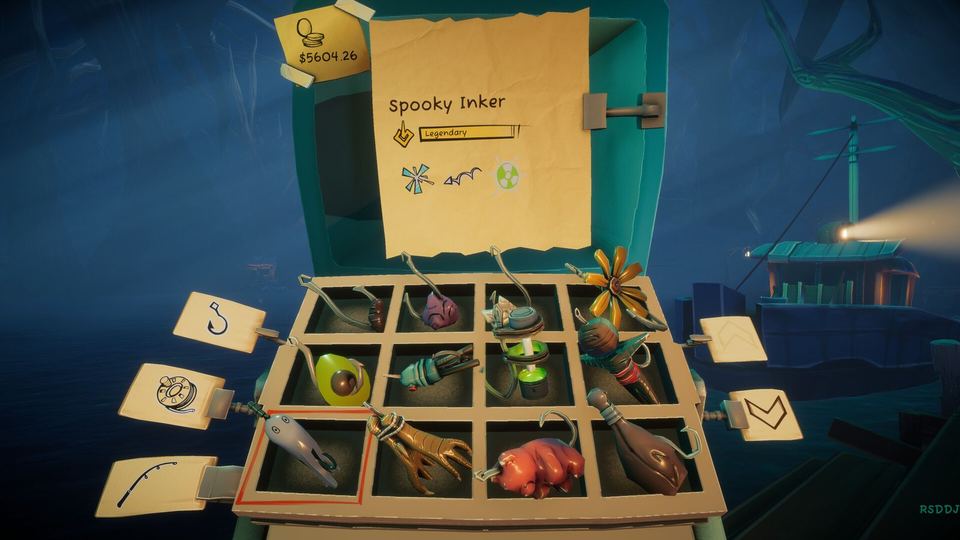
The one purchase that changes your income curve is a rod tier. Strength and Rebound decide whether you land the fish you hook, and Cast Distance decides whether you can reach the water where the heavy ones live. Everything else is secondary:
- Do not buy premium bait early. If a big fish eats your expensive lure and your rod loses the fight, you paid money to lose money.
- Do not re-roll the Tackle Shop forever. Prices climb and cap after six rolls, and one free re-roll was added, so budget one or two rolls per visit.
- Do buy a bigger cooler when the quota gives you the option. Cooler tiers go 4 → 6 → 8 → 10 slots. More slots is literally more fish per trip, which is more money per unit of risk.
- Keep a cheap rod for scouting. When you are exploring somewhere new with monsters around, the rod you actually care about should be stowed, because visible tackle drops when you die.
Free money: crates and junk
Crates fished out of the swamp contain random tackle — the kind of gear you would otherwise save up for. They have their own achievements: briefcase, milk crate, trunk, coffin and fridge. Lost Arcade has also said a grappling-hook and loot-crate tutorial is coming, calling crates a good way to level up quickly in the early game.
Junk works differently. It has no bait preference, so you get it by fishing a spot empty or by using bait nothing in that water likes. Sell it at Rusty Remy's raft — across the big lake from the main pier — feed it to an Enchanted Campfire to keep the fire burning, or keep it for enchanting recipes. Nothing rots, so there is no rush to sell, but junk in your cooler is space your fish cannot use.
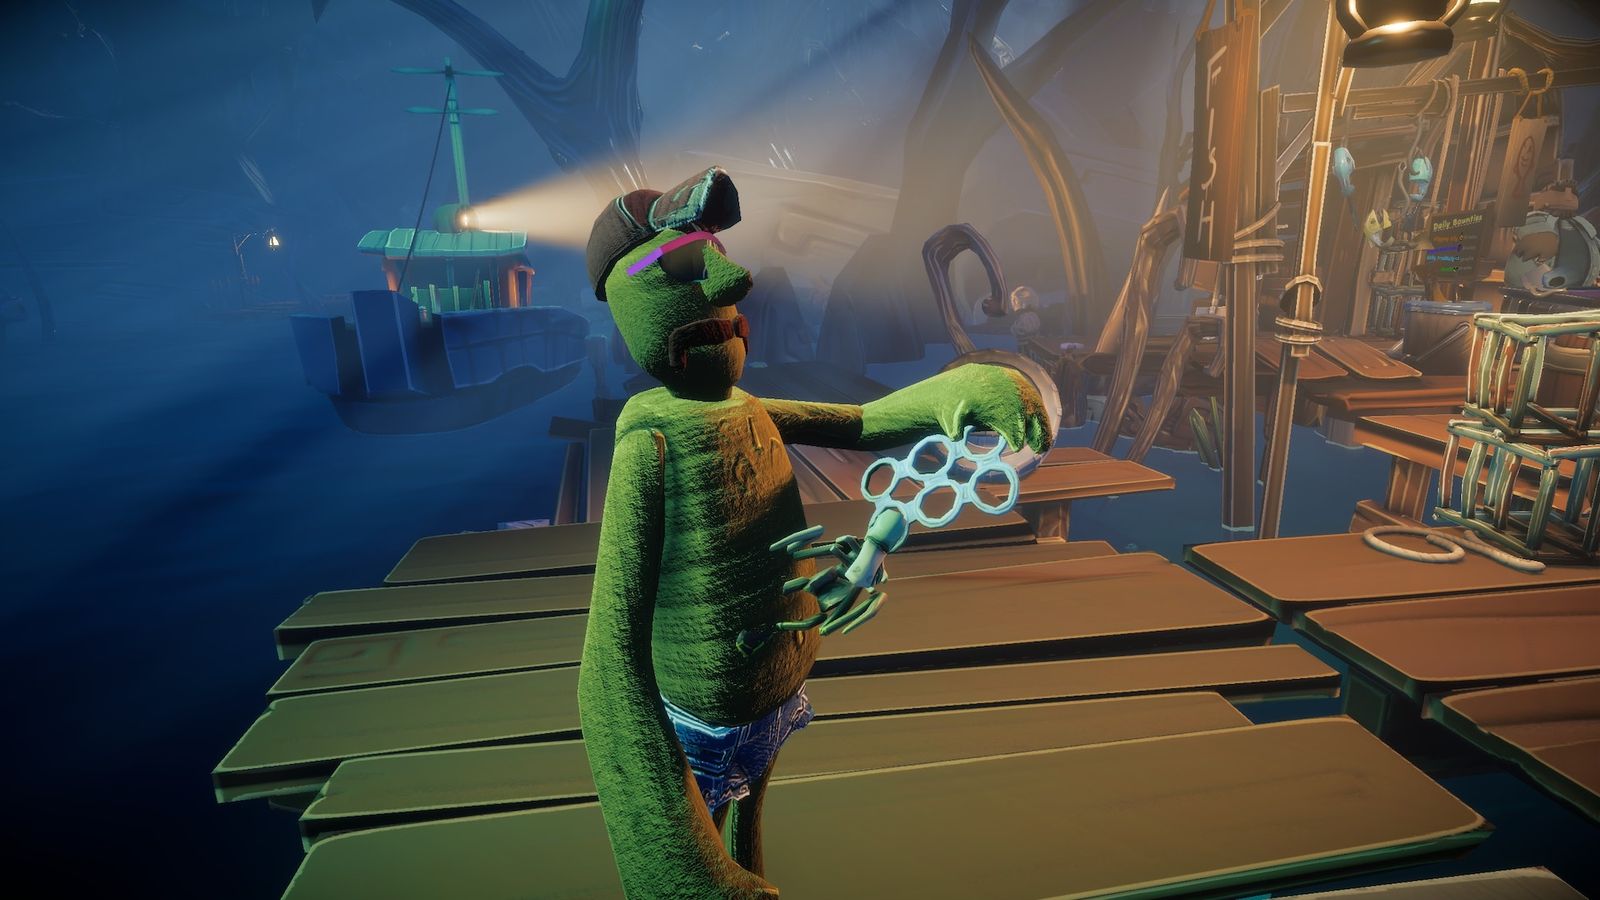 Player screenshot — by Bradyceme via Steam Community
The trap: dying with a full cooler
Every trip is a bet. The swamp keeps your catch if you die, and it keeps any tackle you were holding as well. A cooler with ten slots full of rare fish is worth more than the trip cost you, so the correct play when a threat shows up is usually to run, cut the line and sell — not to squeeze in one more cast. If you are wondering what exactly gets lost, the tackle loss page has the list, and the monsters page tells you which threat you can ignore and which one wants you to leave the area.
Sources
- Voodoo Fishin' Steam store page (app 3071240) — https://store.steampowered.com/app/3071240/
- Another Fish Monger Enters the Swamp (2026-09-02) — https://steamcommunity.com/app/3071240/allnews/
- Meet Dealin' Delores! (2026-09-11) — https://steamcommunity.com/app/3071240/allnews/
- "fish value increase" — developer reply on payouts and bounty prices, Steam discussions — https://steamcommunity.com/app/3071240/discussions/0/798965575663590216/
Voodoo Fishin' Guide is an unofficial fan resource. Voodoo Fishin' is developed and published by Lost Arcade.