Voodoo Fishin' first hour: what to do after the tutorial
Take Jonah Swol's tutorial mission for a better rod, cast with a middle-mouse flick, and spend your first money on rod reach before bait.
The Voodoo Fishin' tutorial ends long before the game explains itself. After your first spawn, the loop is: rig a rod, reel and bait, cast into the swamp, fight what bites, get back to a Fish Monger alive, and spend what you earned on tackle that casts further. The first hour is about surviving that loop with a starter rod that barely reaches past your boots, so buy reach before you buy anything pretty.
The first ten minutes
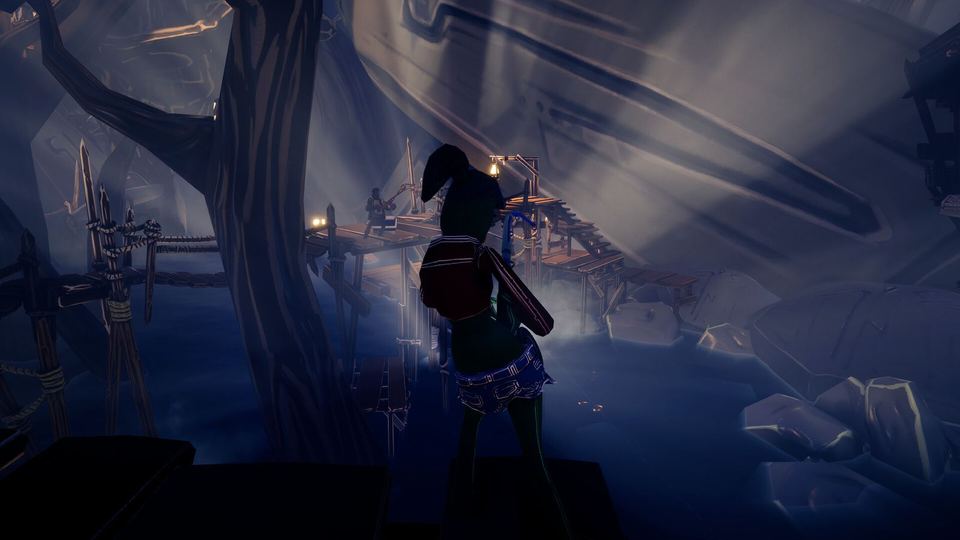
You spawn on the main dock next to your outhouse, which is also your respawn point. The bookshelf beside it holds the Journal — walk up and press E. Open it once now: every species you will ever catch is listed there with its rarity, depth, bait tags and habitat icons, and it is the only in-game map of what lives where.
Two faces on the dock matter immediately. The Fish Monger counter is where fish turn into money, and Jonah Swol has a tutorial mission that pays out a rod better than the one you start with — take his job before wandering. The starter rod's cast distance is deliberately short (the developers trimmed low-tier rods so the first upgrade would feel meaningful), and plenty of new players spend an evening convinced casting is broken when it is just the rod.
Rig up properly
Three slots decide everything about what you can catch:
| Slot | What it controls | What to check first |
|---|---|---|
| Rod | Strength, Rebound and Cast Distance | Can you reach the water you actually want to fish? |
| Reel | Line Length and Water Depth | Is your depth set to Top, Pelagic or Bottom? |
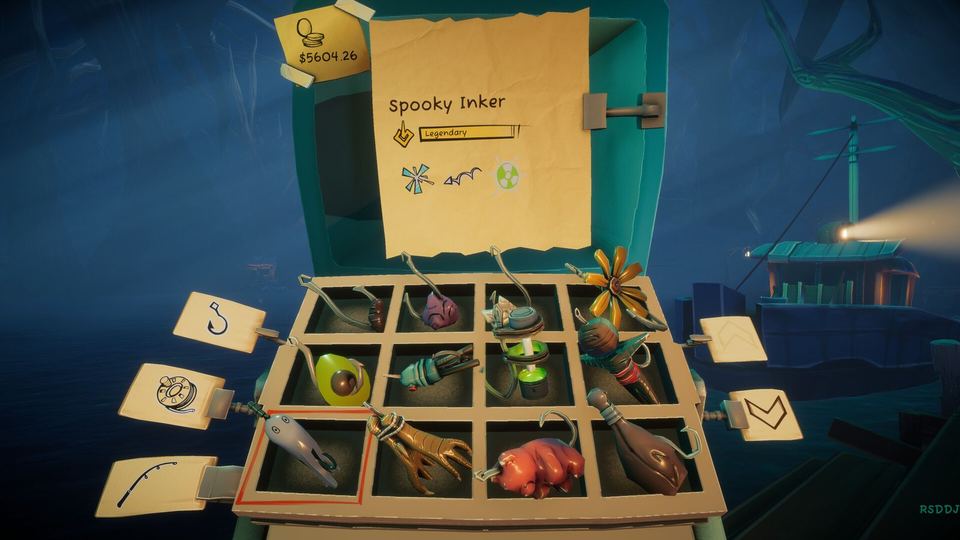
| Bait | The highest rarity that can bite, plus tags | Are your tags close to what the journal lists? |
The reel is the slot people ignore, and it is why a spot can look perfect and produce nothing. Top, Pelagic and Bottom are separate layers; a bottom feeder cannot take surface bait. Read the reel and depth guide before spending a dollar on bait.
Casting is a flick, not a hold
Hold the middle mouse button, swipe the mouse forward, and let go of the button as you flick. The release timing is the cast. Holding the button longer does nothing; a slow, careful drag does nothing; mouse sensitivity and DPI change how much of your flick registers. If the bait keeps dropping straight down at your feet, that is either timing or rod tier — the casting page walks through both.
Spend your first money on reach
Early income is thin. Players report earning in the tens of dollars per hour on starter gear, which is why the first purchase matters so much:
- Rod tier first. More cast distance means access to deeper, cleaner water and bigger fish. The 1.0 balance pass normalised rod stats so no single model dominates, which means you are buying tier, not a specific name.
- Bait rarity second. A rare bait can still catch commons, so upgrading bait never locks you out of easy money — but it does cost money you could be putting into a rod.
- Skip expensive lures. Big fish eat expensive bait, and if your rod cannot fight them you lose the lure and the fish. Players warn about exactly this after saving up too early for premium bait.
- Sell your junk. Non-fish items go to Rusty Remy's raft, not the monger, and crates fished out of the swamp hand out random tackle for free.
Selling, and your first Quota
Take a full cooler back to a monger and sell by the pound. Every fish sold also fills the crew's shared Dock Quota meter, which unlocks session upgrades for everyone: a bigger cooler, Sprint and Jump boosts, the Chum Bucket and the Fish Club. You start each run with a 4-slot cooler and the reward order is random, so treat the meter as a bonus rather than something to farm deliberately. Quota upgrades live and die with the lobby — your money and your purchased tackle stay.
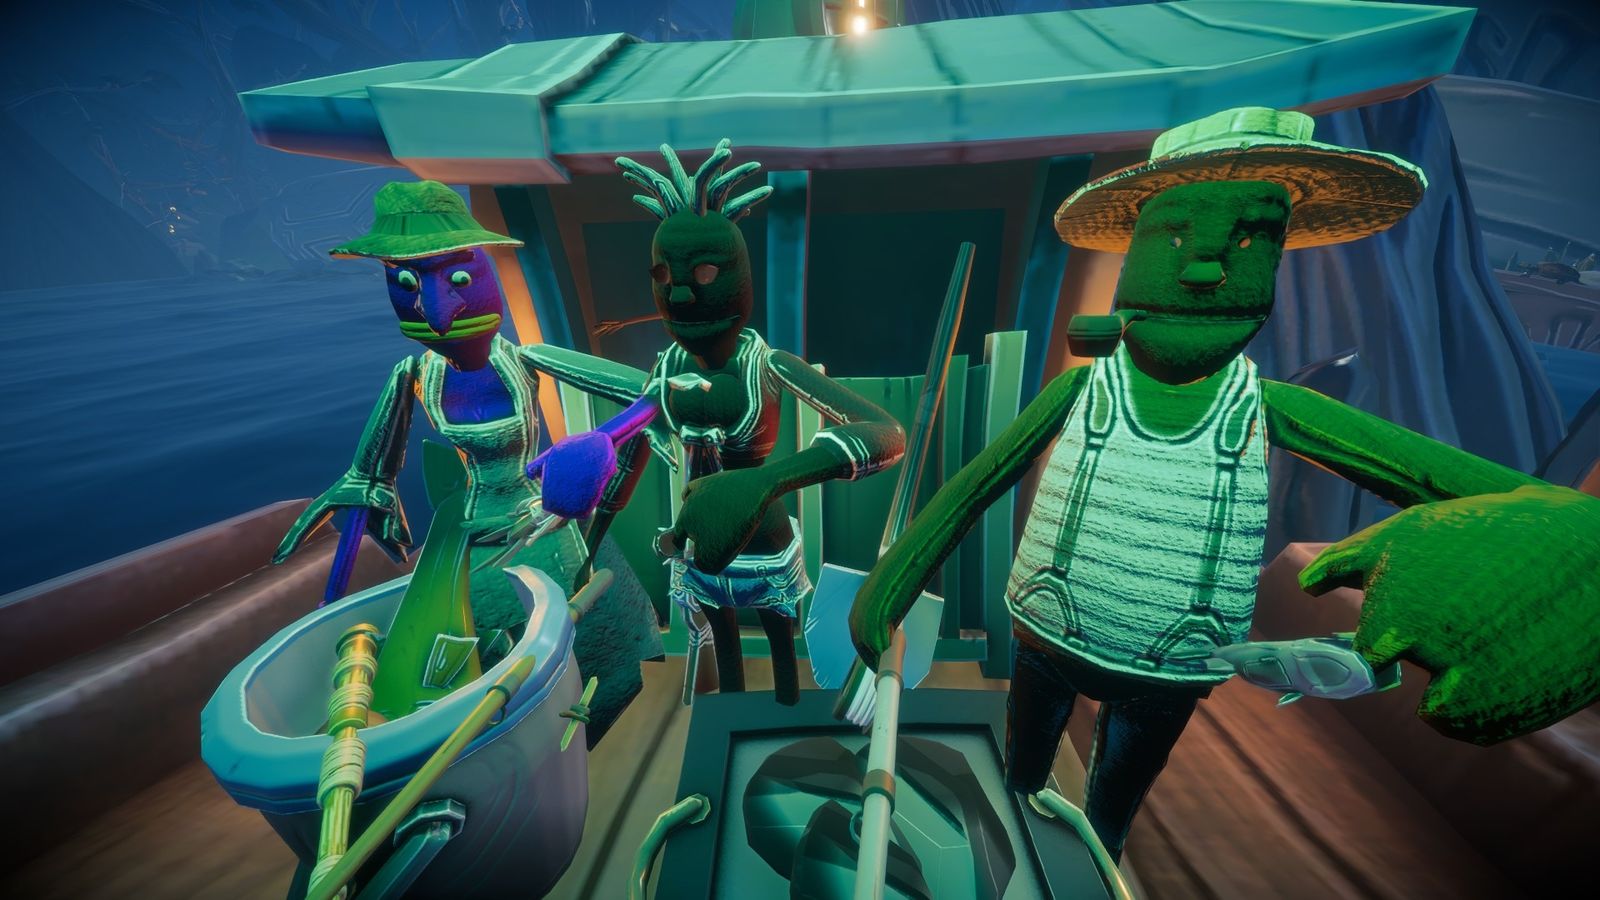 Player screenshot — by diesel power via Steam Community
Death costs more than you think
If you die out in the swamp, the fish in your cooler are gone. Anything you were visibly holding at the time — rod, reel, bait — drops where you fell and is lost, which is why the game now automatically stows your rod when you pick up a fish. Two habits save gear: unequip before you walk somewhere dangerous, and check the Pawn Shop afterwards, because tackle lost in a session can turn up in Dealin' Delores' trays for you to buy back. The tackle loss page has the full list of what drops and what stays.
Sources
- Voodoo Fishin' Steam store page (app 3071240) — https://store.steampowered.com/app/3071240/
- Voodoo Fishin' 1.0 Is Out Now! (2026-10-14) — https://steamcommunity.com/app/3071240/allnews/
- Tackle Guide: Rods, Reels, and Bait (developer written) — https://steamcommunity.com/sharedfiles/filedetails/?id=3674264340
- "Needs a Guide" developer replies, Steam discussions — https://steamcommunity.com/app/3071240/discussions/0/755052765483542853/
Voodoo Fishin' Guide is an unofficial fan resource. Voodoo Fishin' is developed and published by Lost Arcade.